
Where to put your traction pad
 Fin Selector: your fins in 1 minute
Put your traction pad far back, just in front of the leash plug and never on top of it, so your back foot sits over the fins. Centre it on the stringer before you peel the backing, stick it to a clean, wax-free tail with no air bubbles, and give the glue time before you surf.
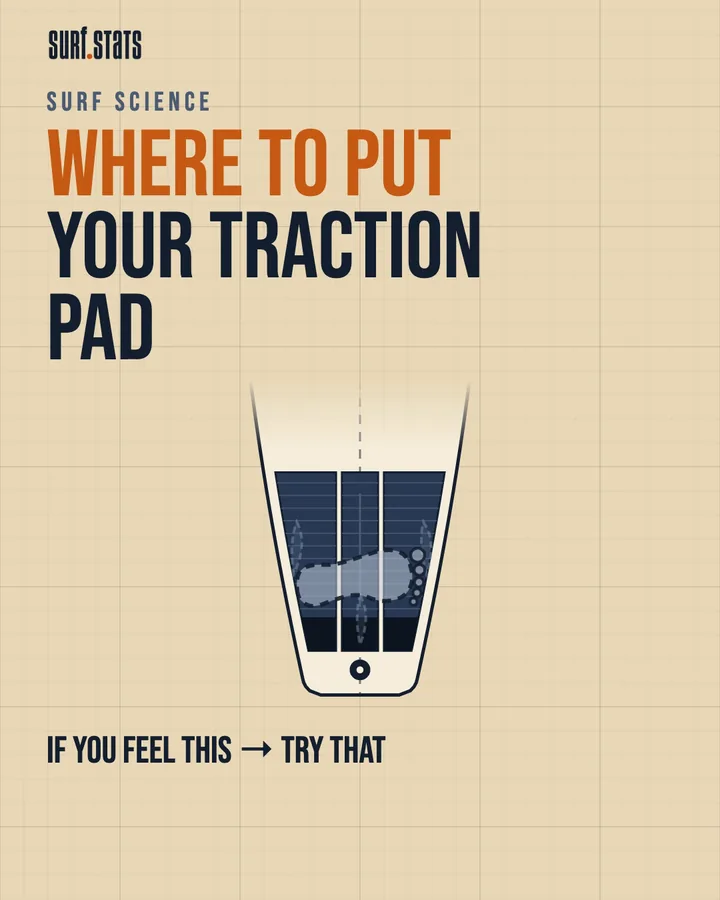
A traction pad has one job: hold your back foot in the right place. Your back foot is where the board pivots in a turn, so where the pad sits sets how far back that foot can go. Get the pad too far forward, or stuck on badly, and you feel it every session.
Here are five common traction pad problems, and the fix for each. They come from our where to put your traction pad reel, and every tip is backed by at least two independent sources: pad makers, surf magazines, a surf school, and a surf coaching camp. There's no lab science here, only trade practice, so read it as practical advice.
One thing to know before you start: a pad only really goes on once. Once the glue grabs, it's very hard to pull back up. That's why most of these fixes are about your back foot today and your next pad.
1. Board won't pivot in turns?
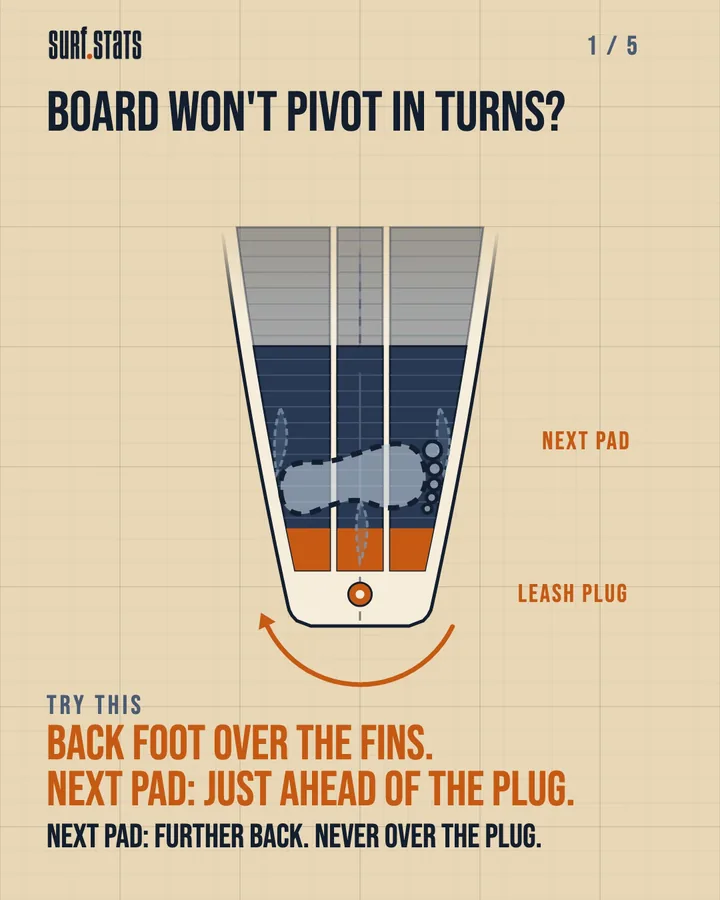
Try this: back foot over the fins. Next pad: just ahead of the plug.
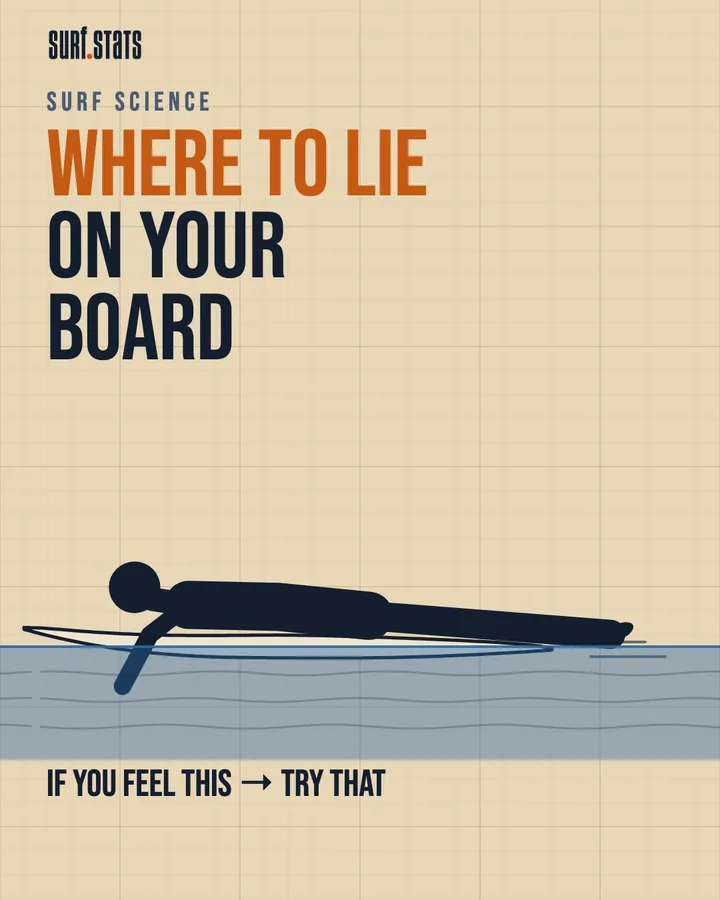
Your back foot is the spot the board pivots from, and it wants to be over the fins. If it sits too far up the deck, the board won't turn the way it should.
The classic mistake is a pad stuck too far up the deck. It keeps your foot too far forward, and a pad maker (Dakine) and a surf magazine (Wavepool Mag) both say a pad placed too far from the tail hurts the board's maneuverability.
So put the next one further back than you think:
- Just in front of the leash plug. Sources describe it as far back as the leash plug allows.
- Never on top of the plug. You need room there to thread your leash string.
- Over the fins, where your back foot pivots.
2. Back foot landing on the front of the pad?
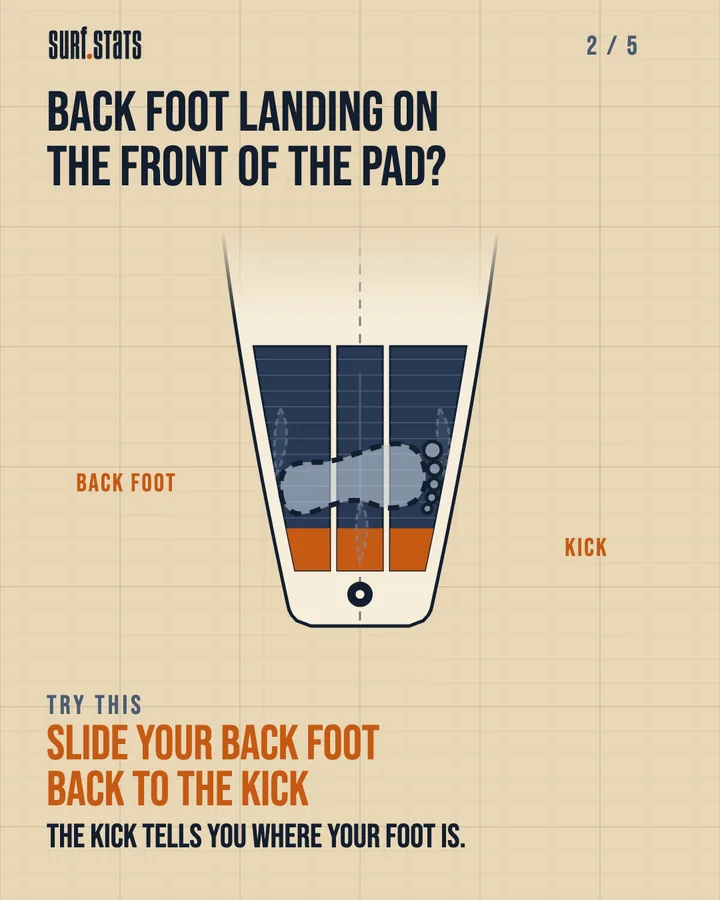
Try this: slide your back foot back to the kick.
Think of the pad as a map for your back foot. The raised kick at the back lets you find your foot's position by feel. It also works as a stop, so your foot doesn't slide off the tail, and it gives your foot something to push against as you turn.
For turns, get that back foot right back on the pad, against the kick. This is about turning, not a rule for every moment: some surfers move their back foot around as they ride.
3. Pad sitting crooked?
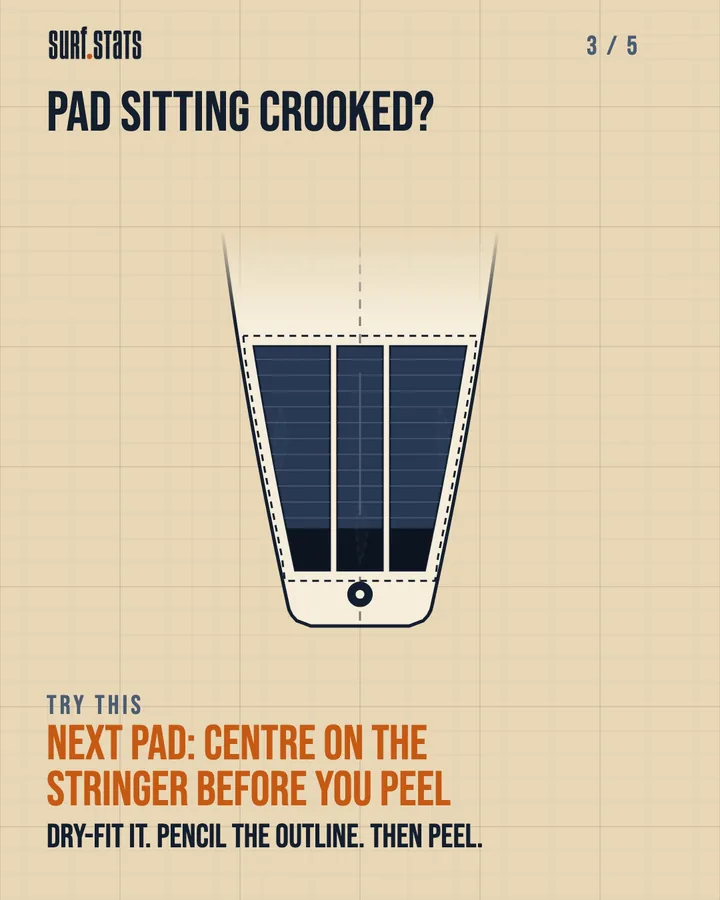
Try this: next pad, centre it on the stringer before you peel.
Because a pad only goes on once, the time to get it straight is before the glue touches the board. The sequence the sources describe:
- Lay the pad on the tail with the backing paper still on.
- Line up the centre of the pad with the stringer, the thin line down the middle of the board.
- Trace around it lightly in pencil.
- Peel the backing and stick it inside the lines.
The pencil outline is a good step rather than a must, but it's what lets you put the pad back exactly where you lined it up. Some sources also suggest pressing lightly at first, so you can still nudge it before you press it down for good.
4. New pad peeling already?
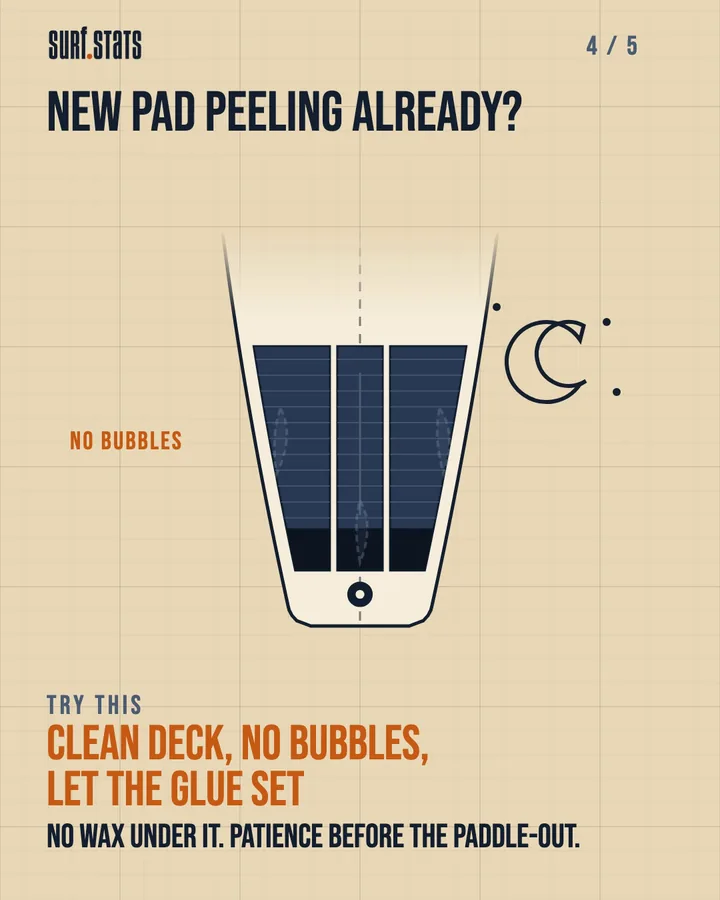
Try this: clean deck, no bubbles, let the glue set.
Glue won't grip wax or dust. For your next pad:
- Clean the tail first. Get every bit of wax, sand and dust off where the pad will go. No wax under it.
- Press it down hard, with no air bubbles. Sources press in different directions; what they agree on is that no air stays trapped under the pad.
- Give the glue time before you surf. Be patient before the paddle-out.
How long to wait is where sources disagree, and one surf magazine calls the long wait a myth. Check your pad's own instructions.
Pads in several pieces have more edges, and edges are where peeling starts. That's one reason a one-piece pad peels less (see the next problem).
5. Pad too wide or too narrow for your tail?
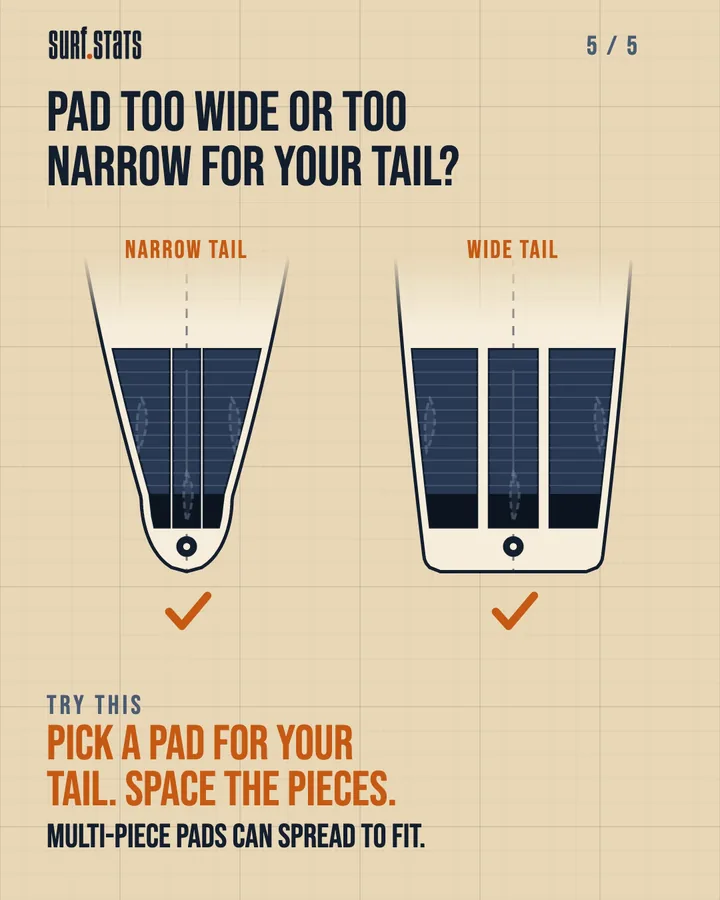
Try this: pick a pad for your tail. Space the pieces.
Tails come in different widths, and so do pads. Some pads have wider footprints than others, so start with one that suits the shape and size of your board.
With a two or three piece pad, you can spread the pieces to fit your tail: closer together on a narrow tail, spaced out on a wide one. A one-piece pad is simpler to stick and less prone to peeling, but it won't fit every board.
Pad under the back foot, wax for the rest
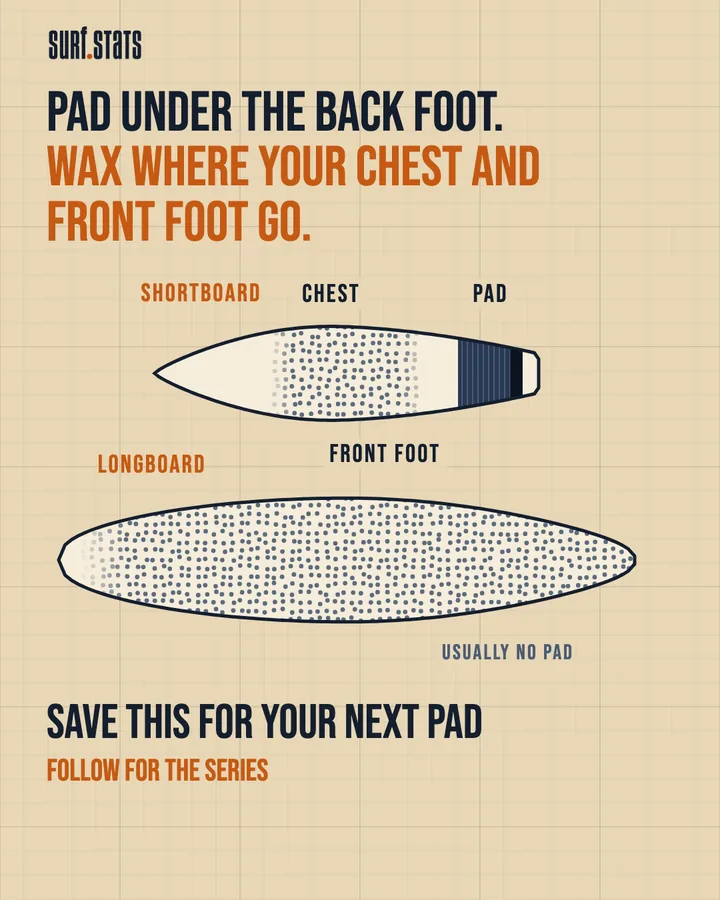
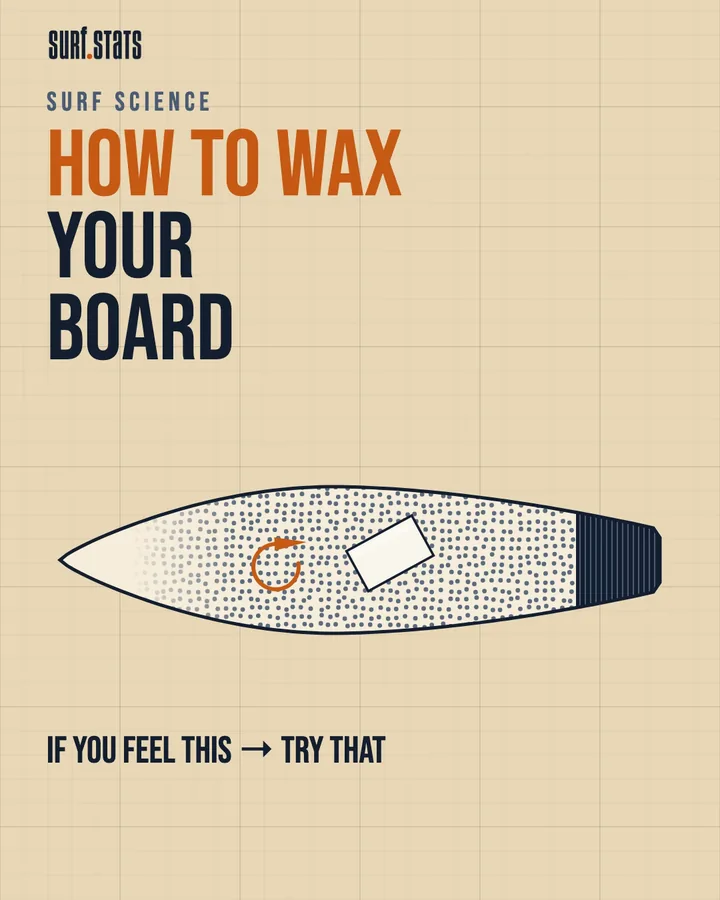
The pad gives you grip without wax in its zone, under your back foot. You still need wax where your chest and front foot go. Longboards usually skip the pad. If you're waxing up the rest of the deck, see how to wax a surfboard.
Not sure about any of this? Ask the shop to stick the pad for you.
Quick checklist
- Back foot over the fins.
- Next pad: just ahead of the leash plug, never on top of it.
- Find the kick with your back foot for turns.
- Backing on, centre on the stringer, pencil the outline, then peel.
- Clean, wax-free tail, no air bubbles, give the glue time.
- Pick a pad that fits your tail; space the pieces if it's multi-piece.
The exact spot is partly personal, so treat "just ahead of the plug, over the fins" as the starting point and adjust to your stance on your next pad.